
You’ve got an iPhone photo that looked fine in Photos, then it hits a Windows laptop, a web form, or an old desktop app and suddenly it won’t open, won’t upload, or shows up sideways. That’s the moment saving HEIC as JPG stops being a format preference and becomes a compatibility fix.
HEIC exists for a good reason. Apple made it mainstream with iOS 11 and macOS High Sierra 10.13 in 2017, using HEIF/HEIC to reduce storage use while keeping comparable visual quality, and Apple’s own software can switch back to JPEG through Most Compatible when needed Apple’s HEIC support overview. The catch is that the rest of the world still runs on a long tail of older systems, web portals, and non-Apple apps that expect JPG first.
That’s why this isn’t a niche archival task. It’s the everyday move you make when you need to email a coworker, upload a passport scan to a portal, or drop a photo into a document that refuses HEIC. JPEG’s older standardization history is also part of the story, since JPG has had decades to become the default exchange format across mixed systems Library of Congress format note.
For a quick background on the file-type problem itself, see why iPhone photos end up as HEIC.
Table of Contents
- Why iPhone Photos End Up as HEIC and Why You Still Need JPG
- Saving HEIC as JPG in Your Browser with ConvertHEICto
- What Happens Inside a HEIC to JPG Conversion
- Choosing the Right JPG Quality for Your Photo
- Handling Metadata and Privacy Before You Share
- A Repeatable Workflow for Saving HEIC as JPG
Why iPhone Photos End Up as HEIC and Why You Still Need JPG
A photo can look fine in Apple Photos and still fail the moment it leaves that ecosystem. An upload box may accept the filename, then reject the image because its validator expects a JPEG-only MIME type. The file is intact, the receiving system just does not support what is inside it.
Apple’s shift to HEIC made technical sense. With iOS 11 and macOS High Sierra 10.13, Apple moved supported devices to HEIF containers with HEVC compression, while keeping a Most Compatible option that still saves JPEG instead of HEIC Apple support. That gives iPhone owners efficient capture on-device, while still leaving a fallback for older workflows.
HEIC runs cleanly inside Apple-heavy setups. Friction starts when the destination is older, stricter, or built around JPEG. Windows PCs, Android devices, browser forms, document systems, and email clients can all react differently, and many still prefer JPG because it is the format they can handle without special support.
A passport upload form can reject a HEIC file even if the image opens normally on the phone. A payroll portal can do the same. So can a coworker’s desktop viewer. Saving HEIC as JPG is the compatibility move that gets the file through those gates.
Practical rule: keep HEIC for capture and storage, then export JPG when the destination matters more than the original container.
The same problem shows up as files move through multiple systems. A photo can start on an iPhone, pass through email, then land in a browser tool that strips or mishandles metadata. JPG does not fix every edge case, but it gives you the broadest baseline compatibility across mixed environments Library of Congress format note. If you want a fuller explanation of the file type itself, see why iPhone photos end up as HEIC.
The practical takeaway is simple. HEIC is efficient for capture, JPG is safer for delivery, and conversion is part of normal photo handling.
For a broader comparison of tools, see the best HEIC to JPG converters.
Saving HEIC as JPG in Your Browser with ConvertHEICto
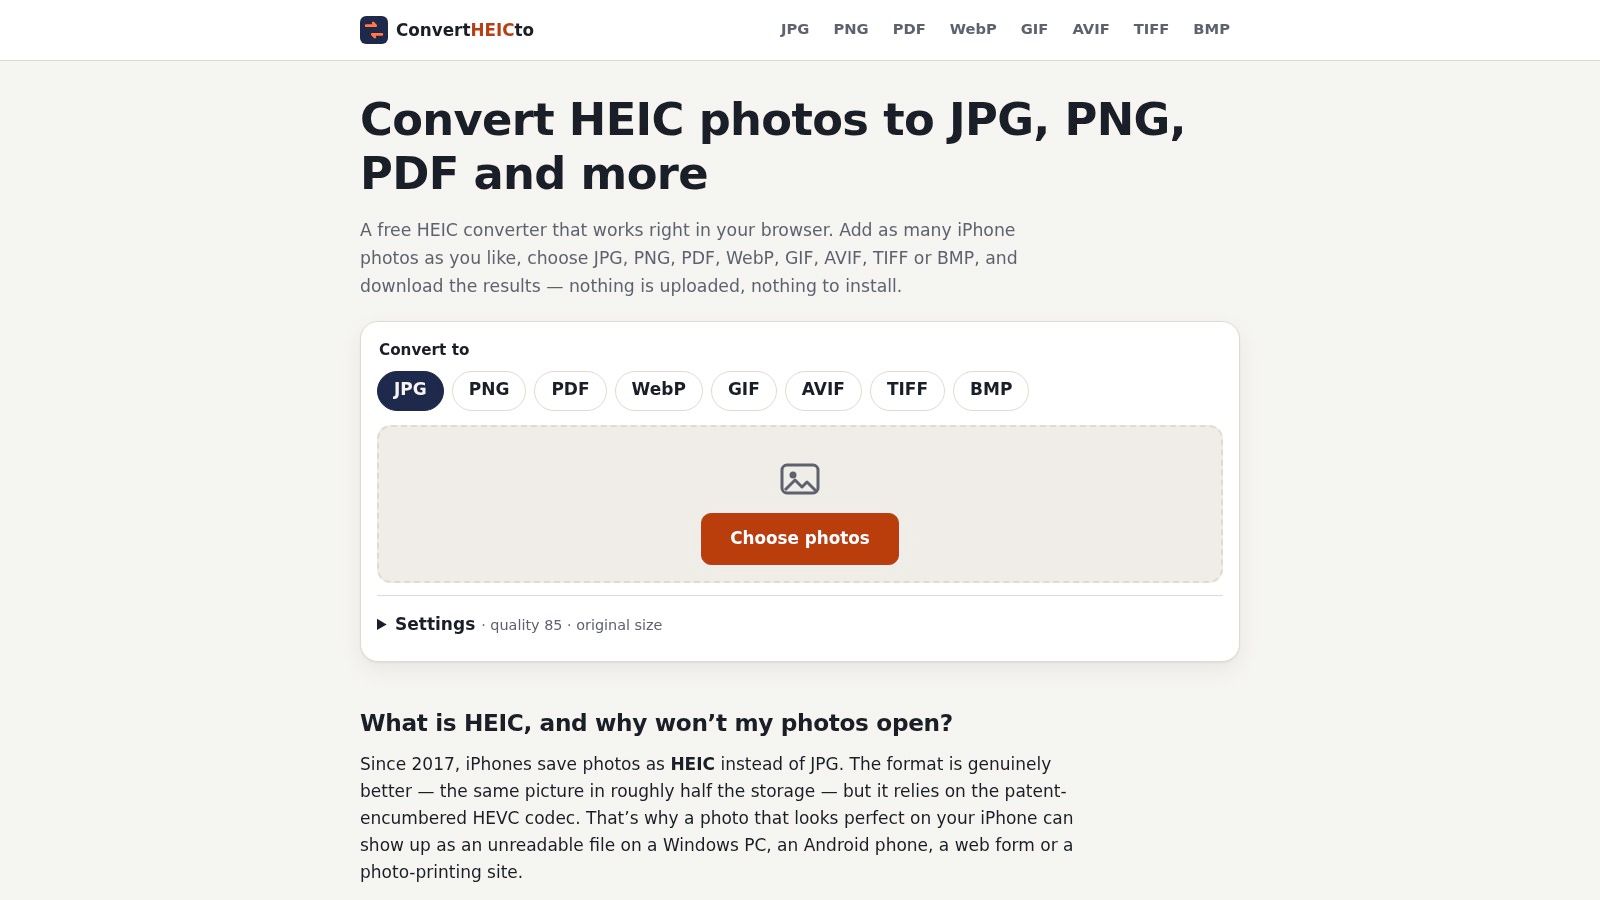
The browser workflow is straightforward if you know which controls matter. Start by adding your HEIC, HEIF, or HIF files with drag-and-drop or the file picker. JPG is the default output, which matches the common case where you need a broadly accepted photo for upload, email, or office software.
From there, pay attention to the settings people usually skip. The JPEG quality slider controls how aggressively the file is compressed, the resize control lets you keep the original size or shrink the long edge down to a specific maximum, and the metadata options decide what stays attached to the exported file. If you’re sending a photo to someone else, those choices matter as much as the export button itself.
The two controls most people miss
The keep GPS toggle is the one privacy-conscious users should check before they share anything publicly. The orientation handling matters just as much, because if the tool doesn’t apply the rotation before saving, the JPG can still look sideways in viewers that interpret metadata differently.
The in-browser approach is useful because it avoids the usual web-upload risk. The processing happens locally in the browser, so you’re not waiting on a server queue and you’re not handing off the file to an external conversion service. That makes it practical on desktop, and it’s also workable on Safari on iPhone and iPad when you’re trying to fix a photo directly on the device.
Here’s the best way to think about the flow. Upload the photo, choose JPG, set the quality based on the use case, keep or strip GPS deliberately, and then download either the individual file or a ZIP archive if you’ve converted a batch. If you need a photo for a portal, the browser route is usually faster than bouncing between Photos, Files, and a desktop app.
The last step is the one that matters most in practice. Download the JPG, open it once, and check that it looks right before you send it anywhere else. A clean export is only useful if the file stays upright, readable, and acceptable to the next system in line.
What Happens Inside a HEIC to JPG Conversion
A good conversion does not start with the save dialog. It starts by decoding the HEIC into pixels, then applying the file’s orientation metadata, then resolving the embedded color profile, and only after that encoding the result as JPEG PhotoPrism HEIF developer notes. That order matters because each stage can change what the next stage receives. If you skip one, the export may still open, but it can look rotated, clipped, or off in color.
Why sideways photos happen
HEIF orientation is often stored as metadata instead of being baked into the pixels. A photo can be correct inside the file and still appear rotated or mirrored in another viewer if the transform was not applied before export. The EXIF orientation tag describes that behavior clearly, and tools that ignore it create the classic “looks fine here, wrong there” failure.
Orientation correction belongs before resizing or encoding. If you resize first and orient later, crop boundaries can shift and the final dimensions can stop matching what you expected. In practice, the cleanest pipeline applies rotation and mirroring while the image is still in an editable pixel buffer.
Why color shifts show up
iPhone photos can carry wide-gamut color, including Display P3, and that profile needs deliberate handling during export. The W3C color profile work on ICC-based workflows explains why profile handling changes how the same pixels are interpreted, not just how they are stored. If a converter drops the ICC profile, the JPG can look too saturated, too muted, or different from what you saw on the phone.
That is not a cosmetic edge case. It decides whether the export preserves the original appearance or gets flattened into whatever the destination app assumes. If the next system cannot reliably read the profile, converting to sRGB before export is the safer choice.
If a JPG looks sideways or off-color, the problem usually started before the encoder wrote the file.
The encoder still matters. JPEG quality is a real setting, not a promise of fidelity, and the export only gets one chance to turn pixels into a compressed file. If the tool exposes quality control, use it deliberately instead of accepting an arbitrary default.
| Use case | Quality | Resize | GPS | Alternate format |
|---|---|---|---|---|
| General web or email sharing | Medium-high | Keep original unless the destination is strict | Remove for public sharing | JPG |
| Archival photo handoff | Higher | Keep original | Keep if you need provenance | JPG |
| Small upload for a portal | Medium | Reduce if the form rejects large files | Remove unless needed | JPG |
| Screenshot or text-heavy graphic | N/A | Keep or use a specific target size | Usually remove | PNG or TIFF |
The table is the practical summary. The hidden pipeline is what makes the result trustworthy. Once you understand decode, orient, color-manage, and encode, bad exports become much easier to diagnose.
Choosing the Right JPG Quality for Your Photo
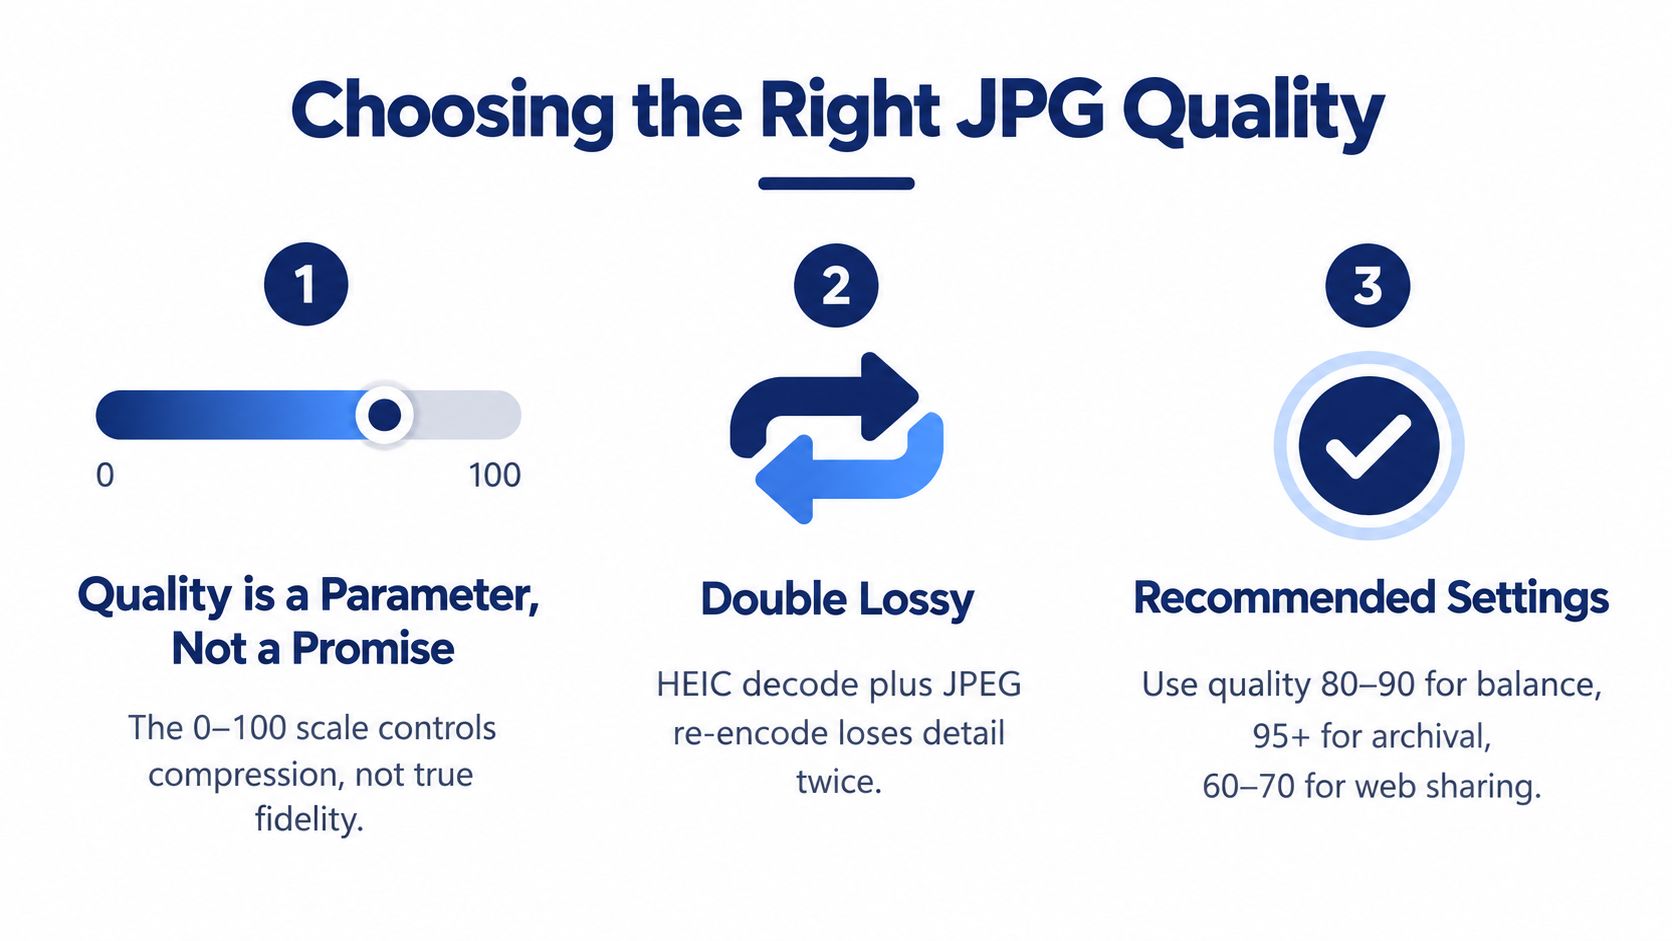
A JPG quality slider looks precise, but it is still just an encoder setting. HEIC is decoded to pixels first, then those pixels are compressed again as JPG, so the export is lossy in two stages. The practical question is how much loss you can tolerate for the job at hand.
What to test before you settle on a default
Use real files, not a single crop and not a thumbnail. I test portraits, foliage, low-light scenes, screenshots, and photos with text at roughly 80, 90, and 95, then inspect them at 100% zoom for ringing, block artifacts, soft text edges, and odd color transitions. That is where bad exports show up.
For general web and email sharing, a starting point around 85 to 92 usually gives a workable balance between file size and visible quality. If the image will be examined closely, push higher. If the file needs to stay small and the scene is forgiving, go lower.
When JPG is the wrong target
Screenshots, diagrams, and text-heavy graphics do not behave like photos. JPEG throws away detail in a way that can blur fine edges and leave artifacts around sharp shapes, so PNG or TIFF is often the safer choice for those files. A portrait and a screenshot need different settings.
Repeated saves are another trap. Each new JPEG encode can add more artifacts, so the cleanest export is the one that starts from the original HEIC and writes the final JPG once. If you want a refresher on how the formats differ, see HEIC vs JPEG.
For a practical compare-and-contrast view of the formats themselves, read HEIC vs JPEG.
Handling Metadata and Privacy Before You Share
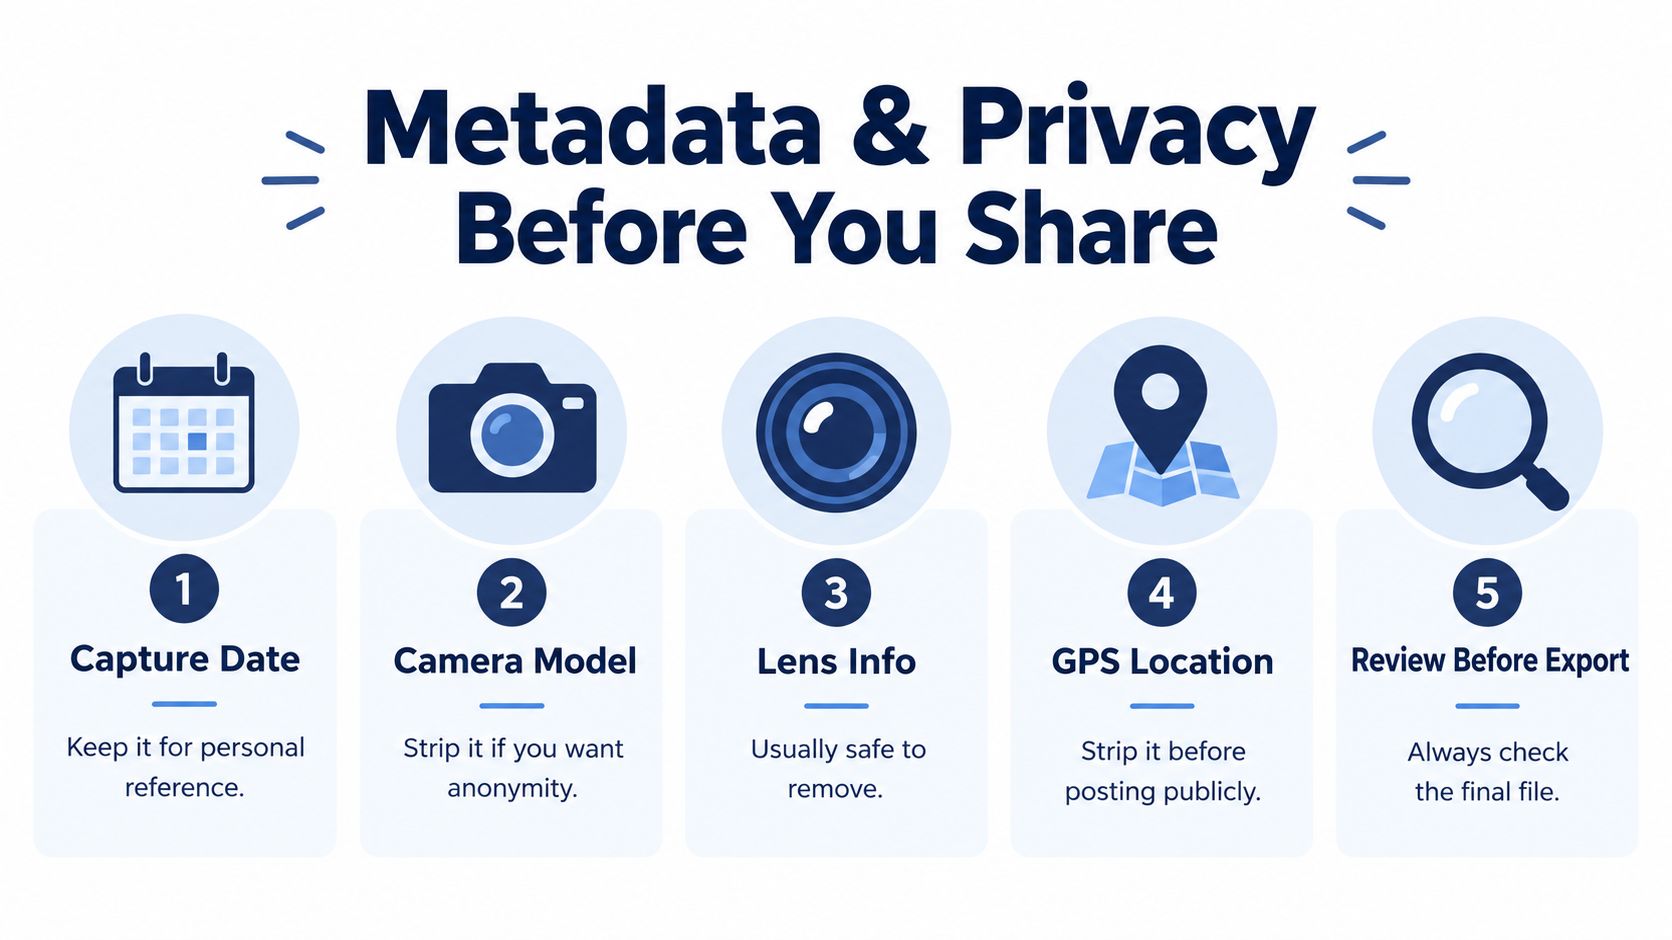
A converted JPG can still carry more than image pixels. HEIC and JPEG files may include capture time, camera model, lens information, and GPS coordinates, so the export decision has a privacy side as well as a compatibility side Apple support on HEIC. That’s why metadata deserves a deliberate choice, not a blind default.
Keep what helps, strip what exposes you
For personal archives, keeping the capture date and camera fields is often useful. Photographers rely on those fields for sorting, culling, and remembering where a file came from. For anything public, shared broadly, or uploaded to a portal, GPS should usually be removed by default.
That still doesn’t make the photo anonymous. A conversion can’t hide a face, an address label, a document, a screen, or a recognizable location that’s visible in the pixels themselves. If the image contains sensitive content, you need to review the picture, not just the metadata.
Convert, audit metadata, then look at the pixels.
A quick checklist helps keep this consistent:
- Check the capture date. Keep it when the file is for your own archive.
- Review camera and lens fields. Retain them if provenance matters, strip them if you want less identifying detail.
- Remove GPS for public sharing. Don’t assume JPG means location-free.
- Inspect the image itself. Redact visible information before upload.
- Open the exported file once. Confirm the final metadata matches your intent.
That sequence is simple, but it closes the gap most conversion guides ignore. Compatibility is only half the job, privacy is the other half.
A Repeatable Workflow for Saving HEIC as JPG
Use the same decision order every time. First, confirm that JPG is the right destination for the place the file is going, because some uses are better served by PNG or TIFF. Next, choose quality based on the content, not the default slider position.
Then decide on metadata. Keep the fields you need for organization, strip the fields you don’t want shared, and treat GPS as opt-in rather than automatic. Finally, verify the export by checking the pixel dimensions, orientation, color appearance, and metadata fields in the JPG itself.
Keep the original HEIC and make the JPG in one export pass.
That one habit avoids most of the damage people create by repeatedly re-saving files. If you want a fast browser-based way to do that cleanly, ConvertHEICto gives you the controls to choose format, quality, resize, orientation, and metadata without handing the file off to a server.
If you need a clean JPG that opens everywhere, keeps the right metadata, and doesn’t come out sideways or washed out, use a workflow that gives you actual control instead of a mystery button. ConvertHEICto is built for that exact job, so you can convert HEIC files locally, check the export settings that matter, and share the result with confidence.